January 17, 2017
Bas Relief Tile Texture Project
Bas Relief Textured Tile Project!
Cultures all around the world make BAS RELIEF meaning LOW RELIEF! This is 3-D art rising from a flat surface. A penny is an example of bas relief because part of the surface is raised!
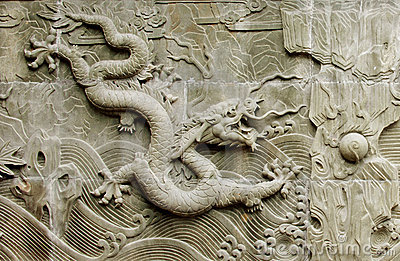
Here is a cool dragon in the bas relief style.
We are going to recreate ancient bas relief tiles to learn about texture and practice making it!
There is an accompanying video to this lesson here.
1. Roll slab of clay
2. Lay cardboard template on top and cut around it with pin tool.
3. Smooth your tile with your finger, a toothbrush, water
4. Cut out the ancient tile design you chose with scissors
5. Lay design on top of clay slab
6. Go over every line in the design with a pen
7. Lift paper/ Faint lines should appear in the clay where you traced!
Now is the time to add texture!
1. Incising – cutting the clay
a. Go over all lines with pin tool to make them more pronounced
b. Use small loop tools to cut wider lines or certain shapes out
2. Applique – Adding clay
a. Add clay to emphasize certain features!
b. Whenever you add clay, SCORE (make lots of scratches) the clay you are adding and where you are adding the clay, use water as well! Smooth
3. Stamping – press stamps into the clay
a. Create a pattern in the background with stamps! Mine is all random but you could make it even as well!
Next Class Period – hopefully your clay has firmed up some and is now leather hard!
If you have finished the 3 forms of texture on your piece now is the time to refine!
1. Brush off top with large dry brush (like an archeologist)
2. Smooth rough areas with a wet brush
3. Use a pin tool or loop tool to clean out rough or boogery areas
4. Gently flip it over. Smooth the backside with fingers, water, a toothbrush
5. Carve an inscription on the bottom, at the least you initials, at the most to so and so from so and so 2017…
At this point you can decide if you want your tile to be a trivet or a wall hanging!
Trivet – roll 4 small balls of clay of even size. Score and attach them to the 4 corners to act as little legs. Smooth.
Wall hanging – bore holes in each of the top corners. Twist as you push the bring tool through. Clean up holes.
When you are done and it is the best that it can be
January 16, 2017
Watercolor Sampler Project
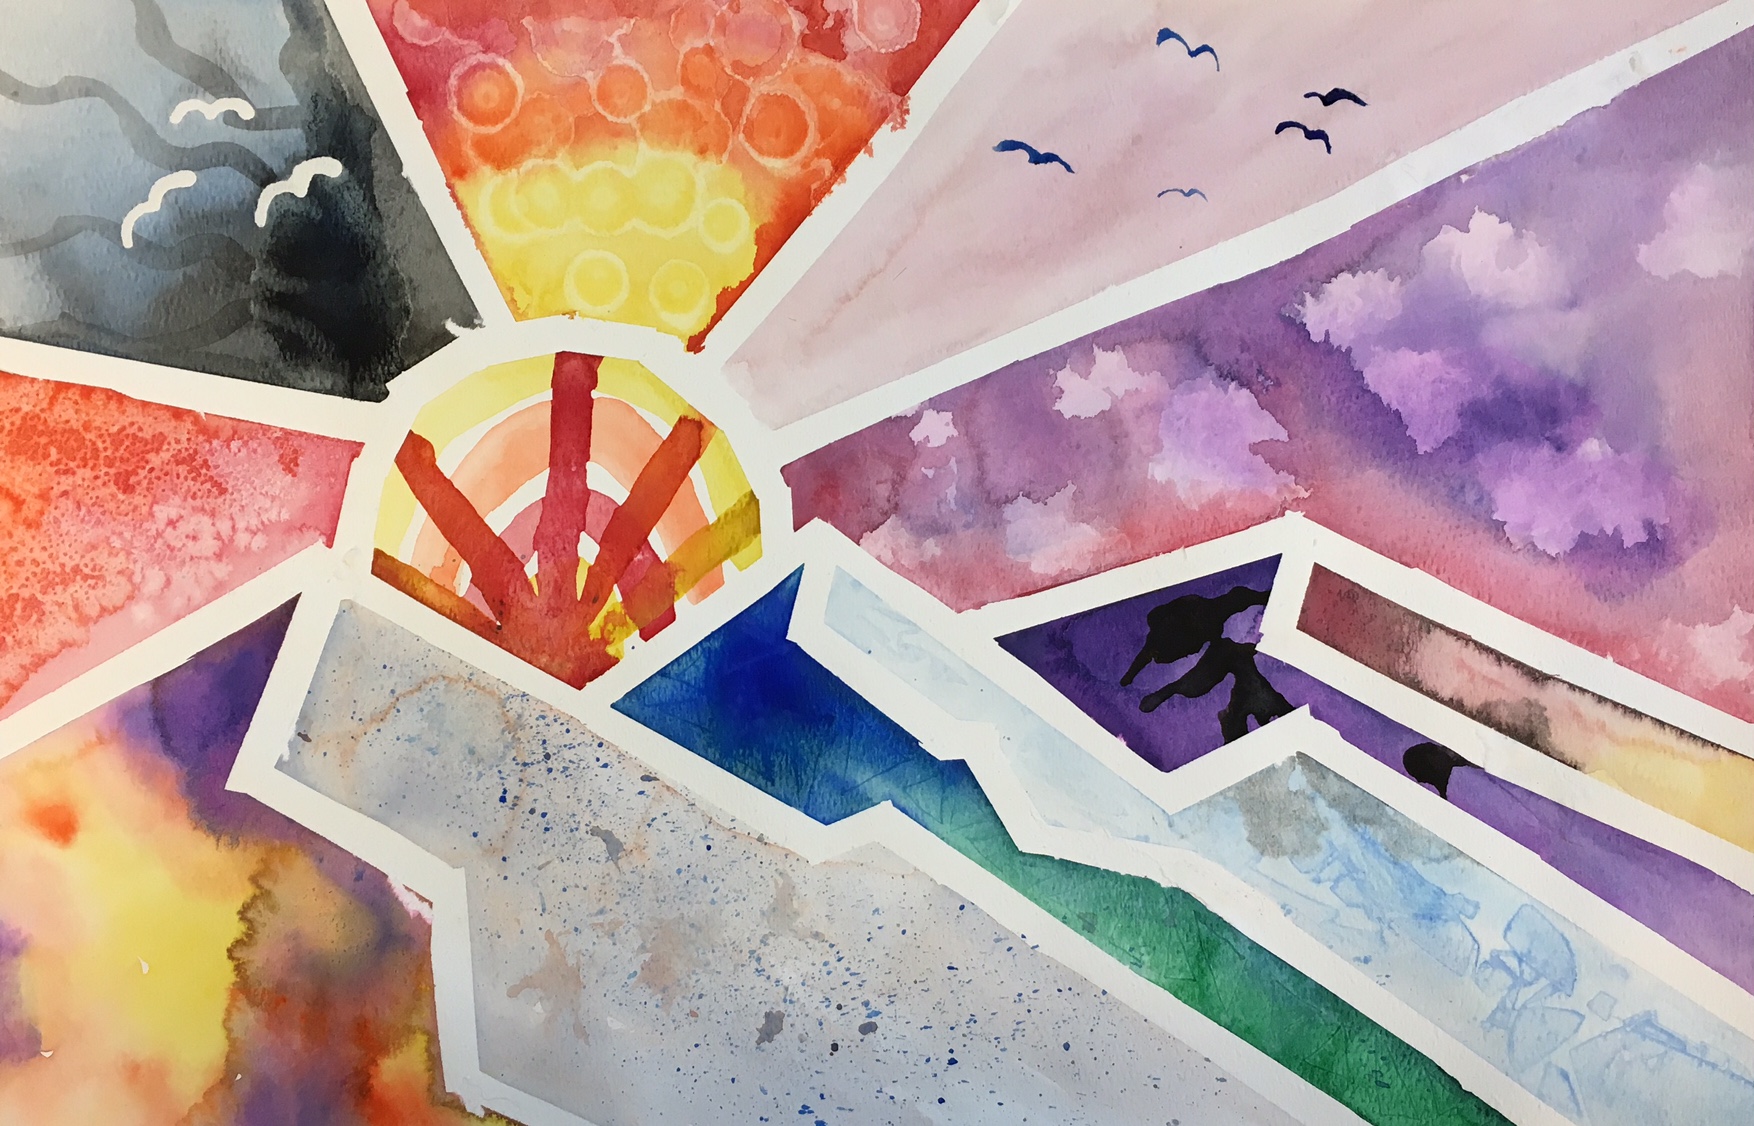
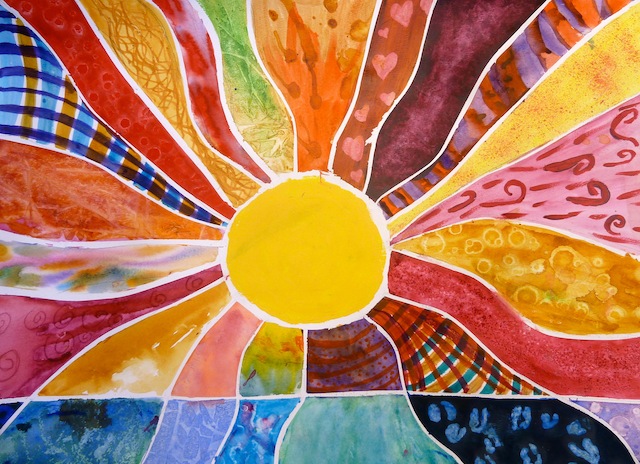
We are beginning a watercolor unit. Our first project will cover the basic techniques in watercolor while making a cool piece of art. We are covering 12 techniques and here are examples of each:

You need to begin by coming up with a composition which includes 12 shapes which are all about the same size. Here is my idea!
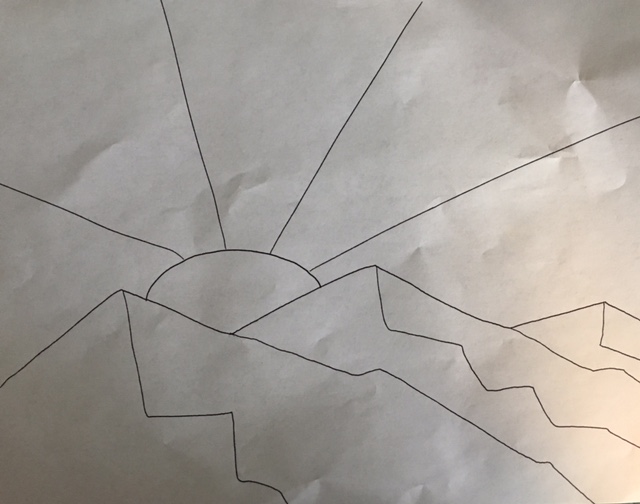
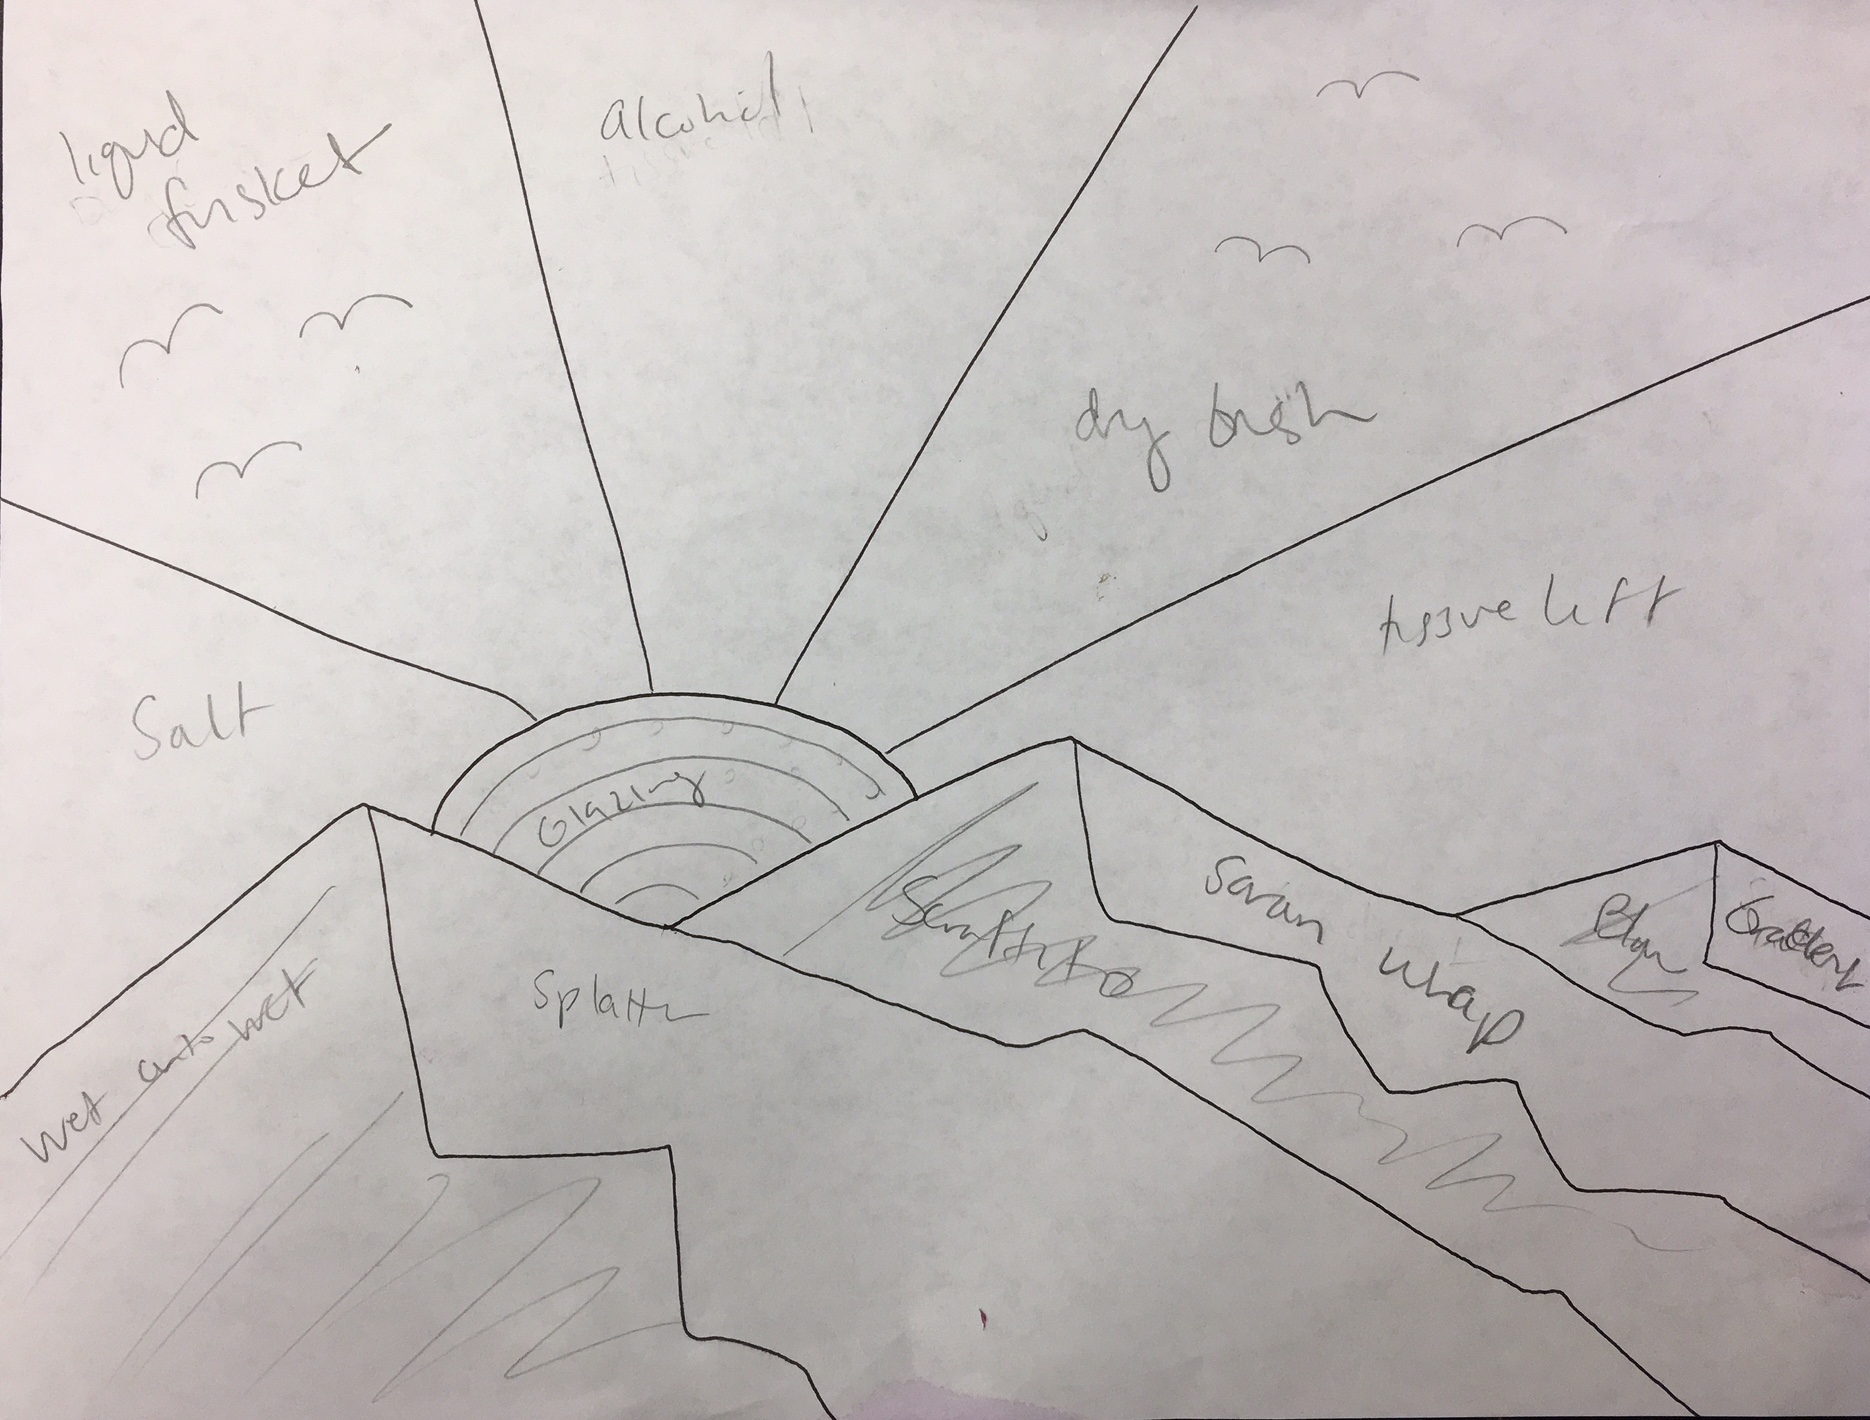
After you get your design approved, plan out where you will do each technique. You can plan colors and shading too!
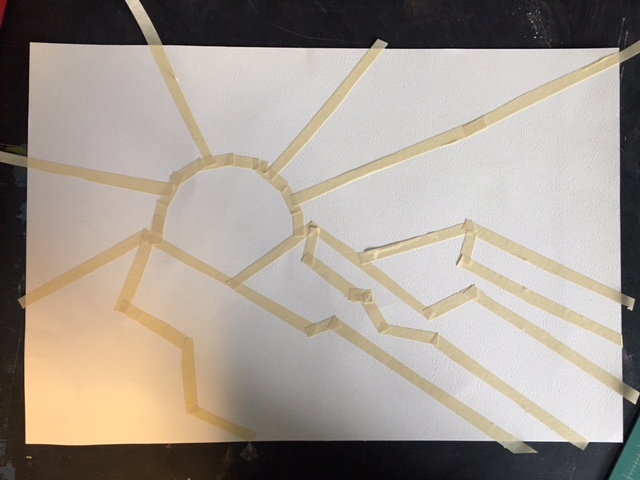
Next you need to tape out your design on watercolor paper. You need to make the masking tape tinner but cutting it into 1/2, 1/3 or 1/4 as thick using scissors or exacto knives. You may want to make some lines thicker and some thinner.
Before you begin painting make sure you have:
watercolor set
multiple brushes of different sizes
cup of clean water
toothpick
saran wrap
salt
alcohol
liquid frisket
kleenex
2 straws
Here is my video tutorial on how to do all of the watercolor techniques. Please follow along, and pause or rewind if necessary!
Here are the tehniques in the order I cover them:
Watercolor Techniques
Liquid Frisket
Glazing first layer
Underlayer for:
Splatter
Dry Brush
Blow
Wet onto wet
Salt
Scrafito
Graded
Saran wrap
Tissue lift
Alcohol
After First Layer is Dry Revisit and Finish:
Liquid Frisket Background
Splatter
Dry Brush
Blow
Glazing Second Layer
Here is my finished product and some from the past:
BWaggoner
Chloey Baldwin
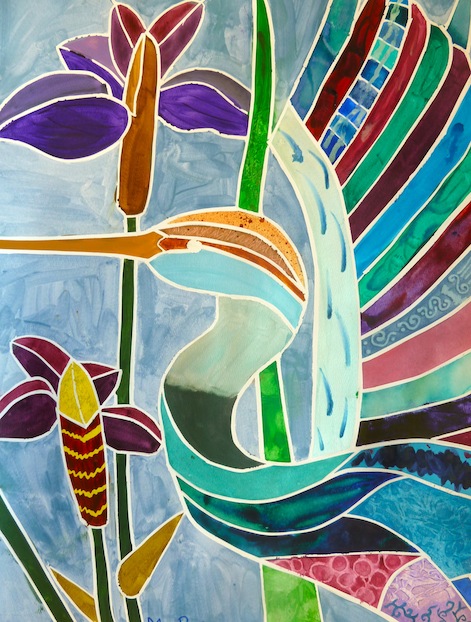
Mary Ramirez
January 9, 2017
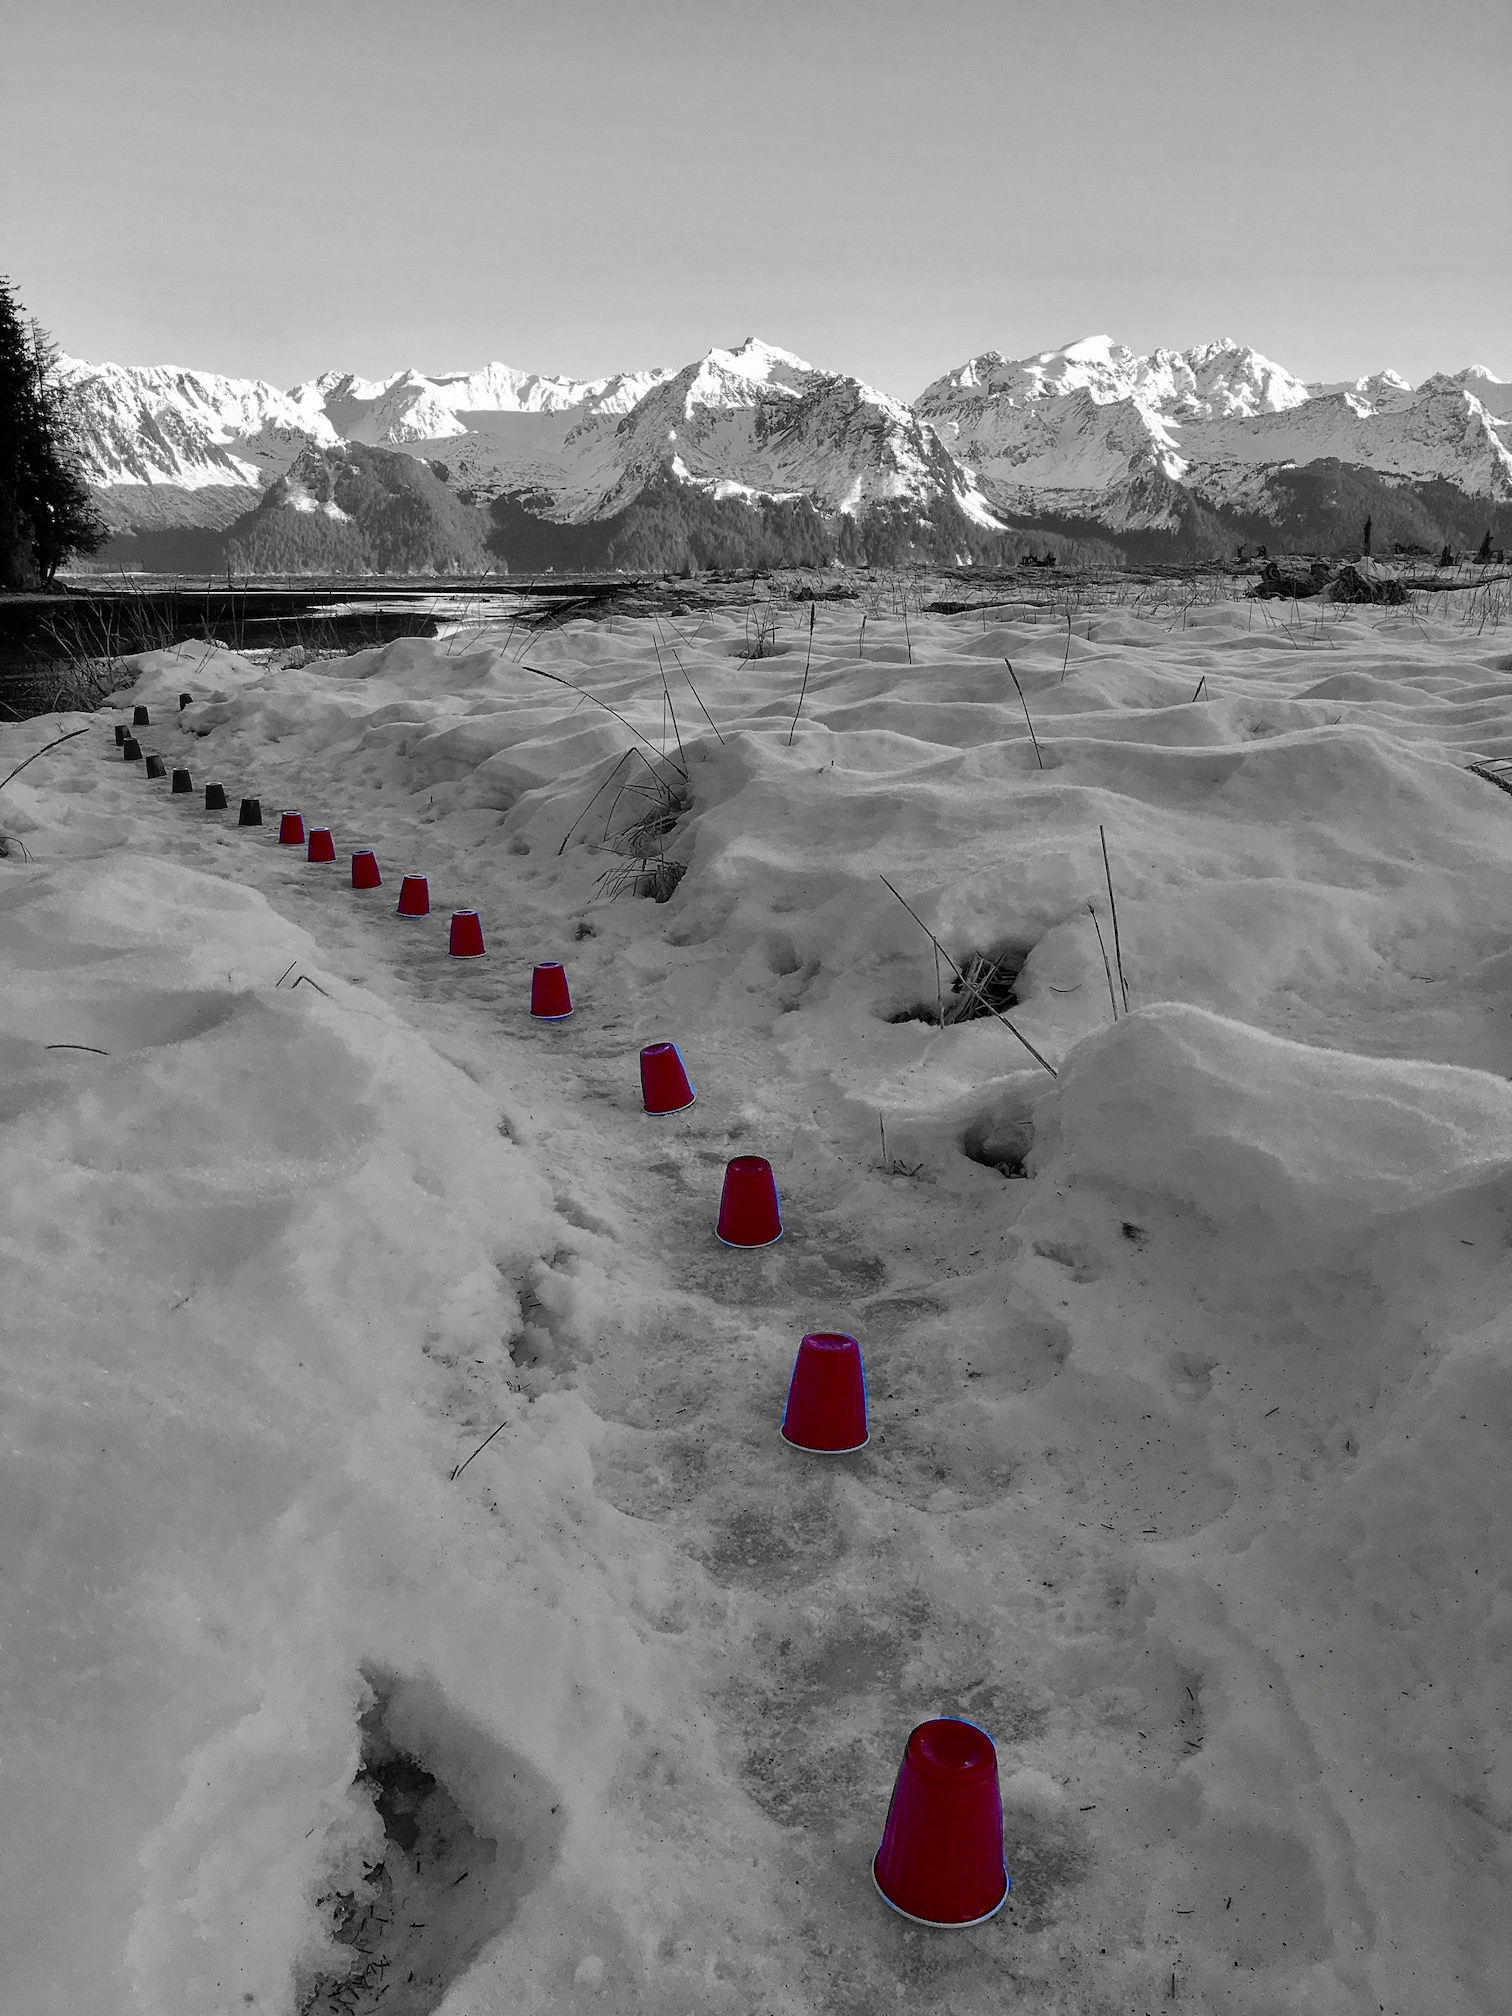
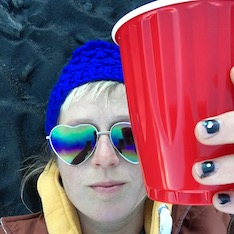
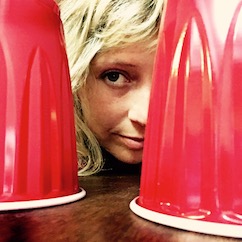
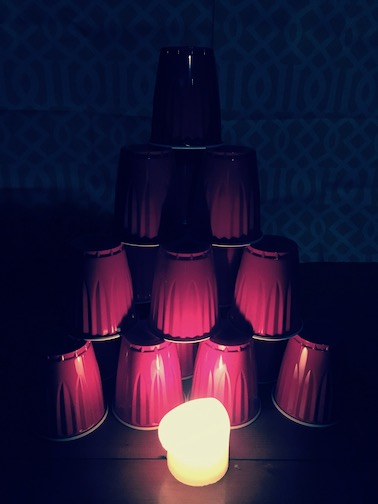
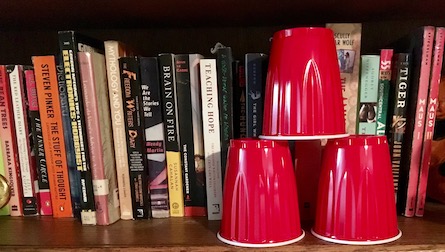
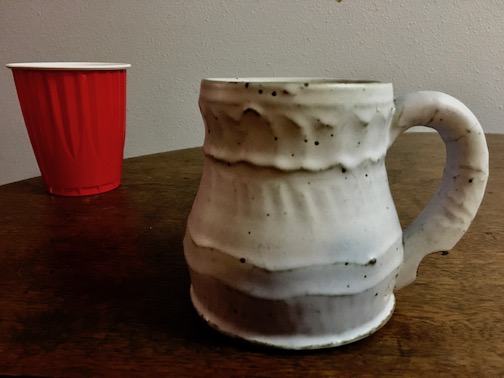
Red Cup Elements and Principles of Design
The ELEMENTS of Design (the tools to make art)
Line (a point moving through space)

Shape (two dimensional geometric or organic shapes)

Form (three dimensional forms)
Color (hue)
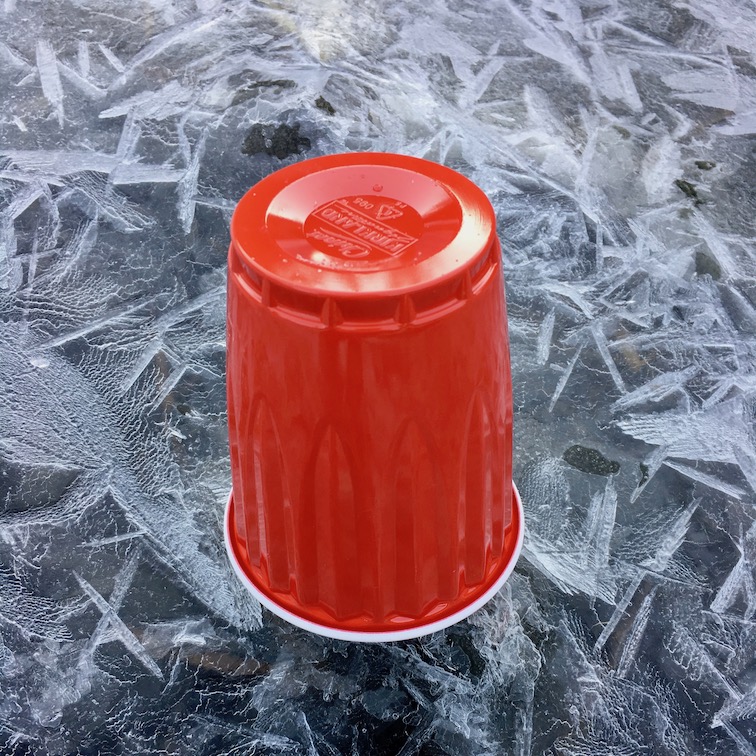
Texture (surface description)
Space (positive vs negative)

Space (perspective – close vs far)
Value ( light vs dark)
The PRINCIPLES of Design (how to use the tools to make art)
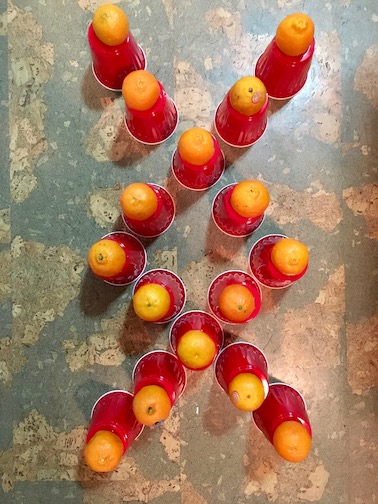
Pattern (regular arrangement of repeated elements)
Contrast (juxtaposing two different things to create interest)

Emphasis (the artist wants your eye to be drawn to this area – focal point)
Balance (symmetrical or asymmetrical visual balance)

Proportion/Scale (differences in size)

Harmony (all the parts of the piece create a pleasing whole)
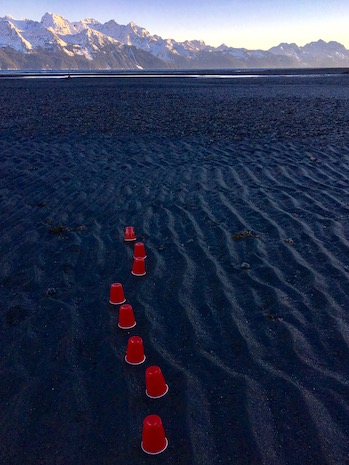
Rhythm/Movement (recurring elements to direct the movement of the eye)